Getting Started
The stepctl library contains a Windows Form class with functions that you can use to read STEP files and display STEP 3D geometry contained within. There are also functions for querying some basic STEP product information, controling the display, color and transparency of items.
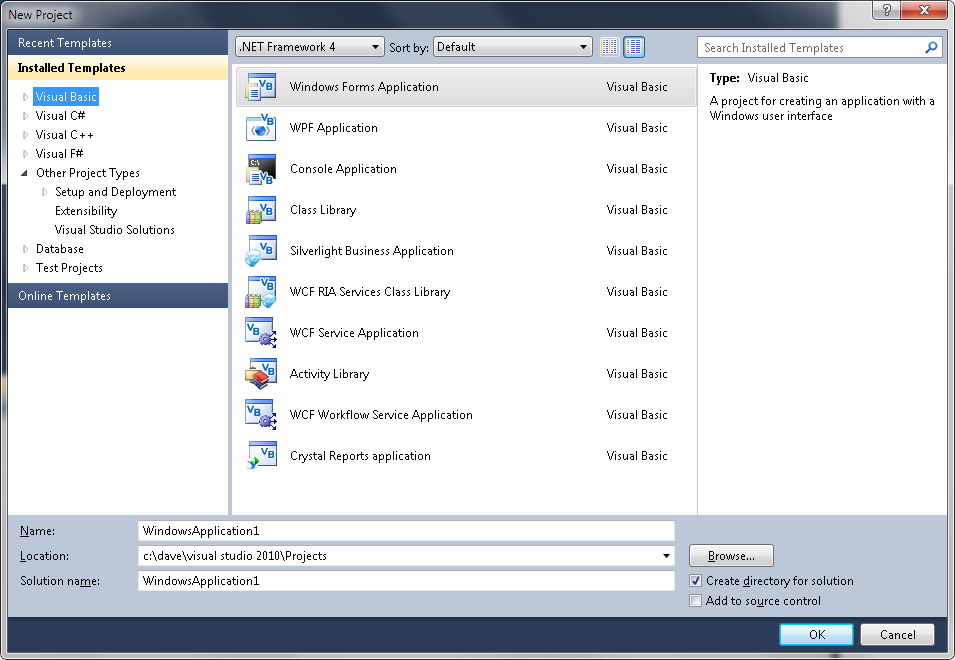
To get started, create a new .NET windows forms project in Visual Studio. The examples in this manual will use Visual Basic, but you can be use from any language that supports .NET calls, like C#, C++/CLI, or J#.
 |
 |
 Next, add a reference to
the stepctl library so that you can access the functions it
provides. Right Click on the project in the Solution Explorer and
select Add Reference ... from the context menu. The Add
Reference dialog box will appear as shown below. Go to the Browse
tab, then navigate to the stepctl.dll file and select it from
the list. This file may be installed under "Program Files/STEP Tools"
or "Program Files (x86)/STEP Tools" in a bin subdirectory.
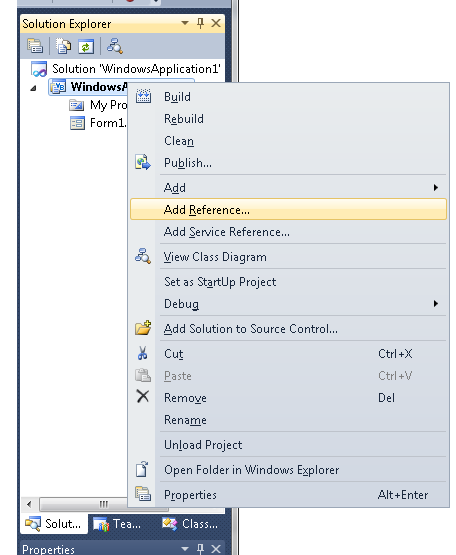
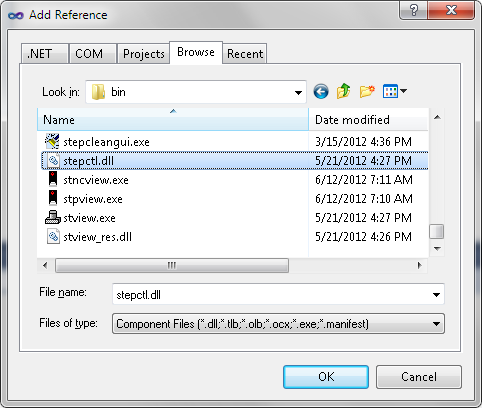
Next, add a reference to
the stepctl library so that you can access the functions it
provides. Right Click on the project in the Solution Explorer and
select Add Reference ... from the context menu. The Add
Reference dialog box will appear as shown below. Go to the Browse
tab, then navigate to the stepctl.dll file and select it from
the list. This file may be installed under "Program Files/STEP Tools"
or "Program Files (x86)/STEP Tools" in a bin subdirectory.
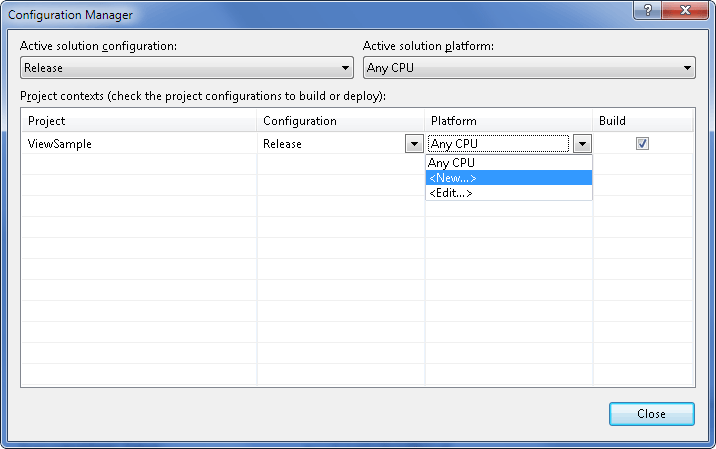
By default, .NET projects may start with the solution platform set to "Any CPU". Because the stepctl library is a native executable, you must change the solution platform to either "x86" or "x64". Either right-click on the solution in the Solution Explorer, or click on the platform drop-down menu in the Visual Studio toolbar, and then select Configuration Manager ....
If there is no "x86" option in the Platform drop-down menu, select <New ...> as shown below. Then in the "New Project Platform" dialog, select "x86" for the new platform and then click "OK" for both dialogs to set the solution platform.
If you are using a 64bit version of the DLL, follow the instructions above, but use "x64" rather than "x86".
By default your project should be configured to use the .NET 4.0 Target Framework. To verify, double click on "My Project" in the Solution explorer, and then under the Compile tab, at the bottom select Advanced Compiler Settings and change the Target Framework to "4.0" if needed.
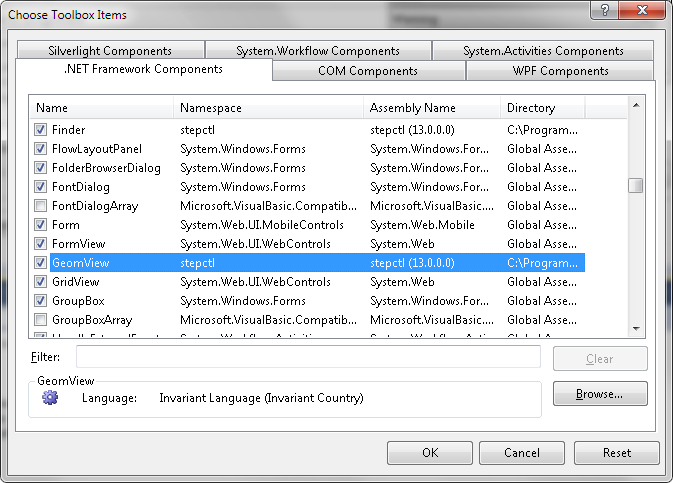
You can now place an instance of the GeomView control on your Windows Form application. Open the Toolbox menu. In the Visual Studio toolbox, it may be in a separate General group. In the example below, we have added a GeomView control as well as a button to load a file. The GeomView control does not display any contents while in the designer.
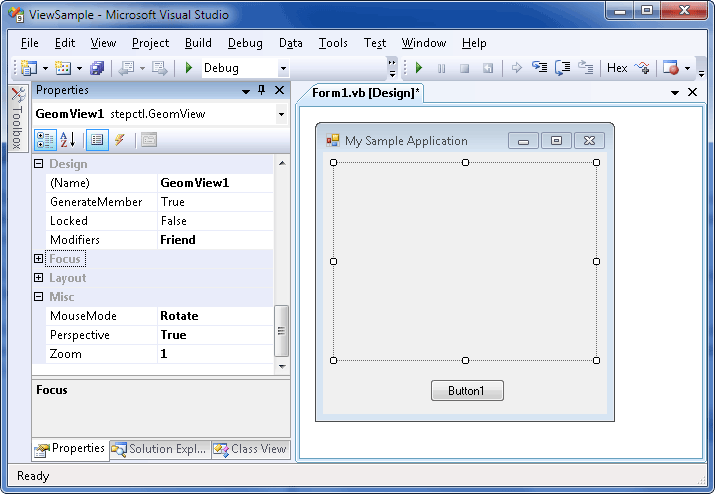
In this example, we have given the button control the Click handler shown below.
Public Class Form1

    Private Sub Button1_Click(ByVal sender As System.Object, ByVal e As System.EventArgs) Handles Button1.Click
	GeomView1.LoadSTEPFile("C:\Dave\mold_part.stp")
    End Sub
End Class
This calls GeomView.LoadSTEPFile() function to load a STEP File and display the contents. The viewing window will use default values for everything, which means that it will center the geometry on the screen and dragging the mouse will rotate the view. Running the program and clicking the button gives us the results shown below. Continue to the Common Operations section to learn how to use the GeomView class for more tasks.
